-
-
READ THESE INSTRUCTIONS CAREFULLY. OBSERVE WARNINGS AND PRACTICE CAUTION WHEN INSTALLING, OPERATING, OR MAINTAINING YOUR GOFF’S DOOR ASSEMBLY.
-
WARNING: Damage to the Controller by an un-Certified Electrician will NOT be covered under Goff’s Warranty.
-
DO NOT USE AN IMPACT DRIVER TO MANUALLY OPERATE THE MOTOR AS IT MAY SHEAR OFF THE 13MM OUTPUT SHAFT.
-
BE SURE TO HAVE THE SPECIFIED VOLTAGE COMING INTO THE PANEL. IF THE PANEL IS EXPERIENCING VOLTAGE DROPS OR SPIKES BEYOND WHAT THE PANEL IS DESIGNED FOR, THE PANEL MAY BE DAMAGED OR THE DOOR MAY NOT OPERATE PROPERLY.
-
Regardless of the available Input Power, Goff’s High Performance Doors are supplied with a 3-Phase Motor.
-
The Control Panel will internally “transform” the specified Input Power (from your order) into the appropriate 3-phase Output Power.
-
If only 110V Power is available then a Step-Up transformer will be required.
-
-
-
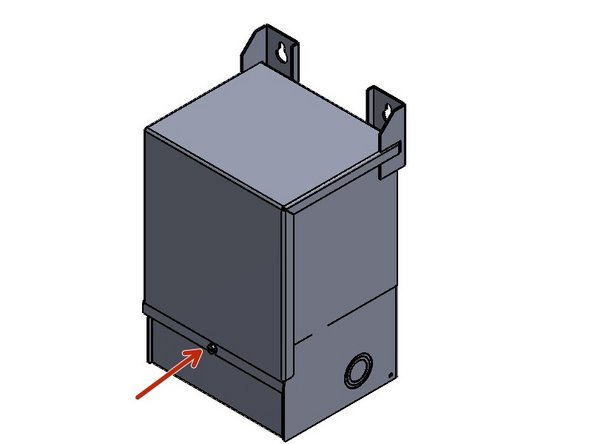
Unpack the Transformer.
-
Check the Information Plate to verify the correct Transformer Input and Output Voltages. "120V to 240V"
-
Mount the Transformer as needed so that Incoming Power can be brought to it, and Outgoing Power can be sent to the Control Panel previously Installed.
-
-
-
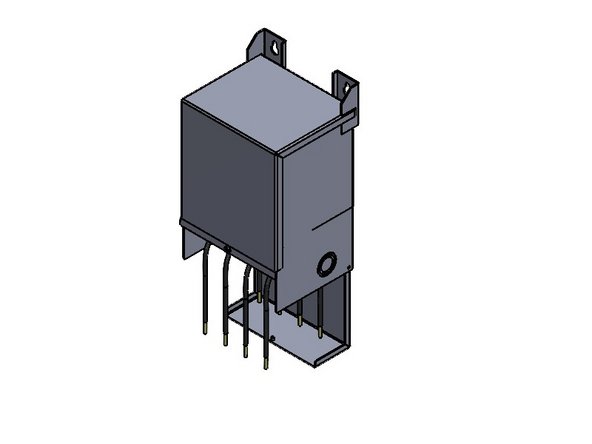
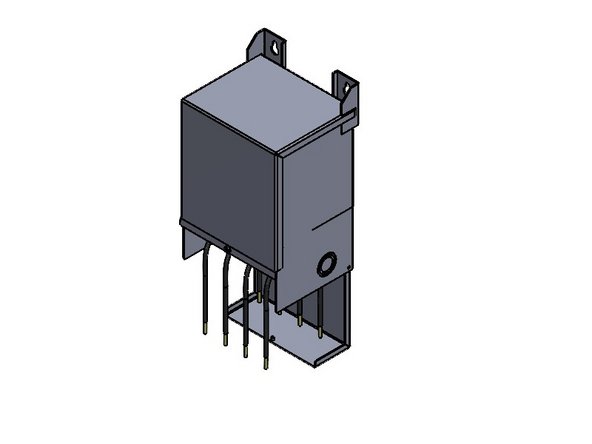
Open the Door to access the Wiring Harness.
-
Locate the Wire bundle marked with "X" Conductors.
-
Locate the Wire bundle marked with "H" Conductors.
-
-
-
Make the following Input Connections.
-
H1 - Hot/Line (120VAC)
-
H2 - Fasten together with H4 and Neutral
-
H3 - Fasten together with H1 and Hot/Line
-
H4 - Neutral
-
-
-
Make the following Output Connections.
-
X1 - Hot/Line. Terminates in L1 inside the control panel
-
X2 & X3 - Fasten together
-
X4 - Neutral. Terminates in L2 inside the control panel
-
240VAC is measured between X1 and X4.
-
Make sure Power is OFF while Wiring the Motor to the Control Panel in the following steps.
-
Almost done!
Finish Line


