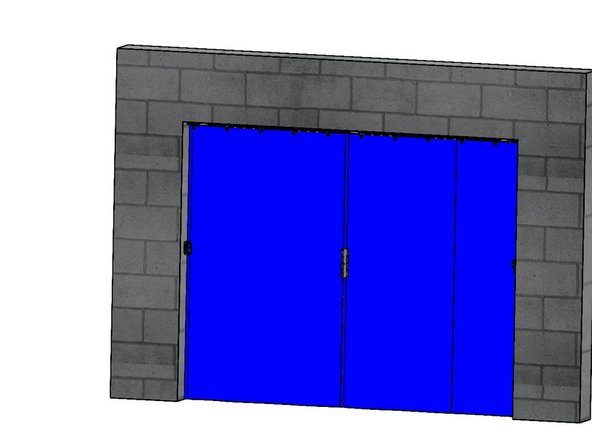
Featured Document
-
-
Technical Support Contacts:
-
Phone: 262-746-3374
-
Email: techsupport@goffscw.com
-
Website: http://www.goffsenterprises.com
-
-
-
Warm the Curtains to 50 degrees before unfolding.
-
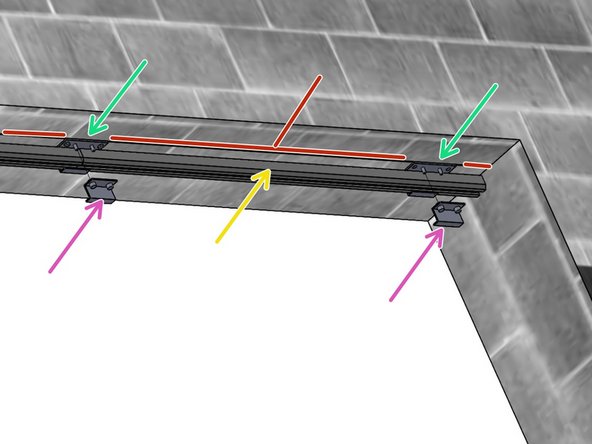
Track Splices are located at about 4” from each end regardless of Curtain/opening width, and at all Track ends along the “run”.
-
Door openings greater than 8’ (eight feet) wide will require additional Track Splices. Door openings at, or less than, 8’ (eight feet) typically do not require a center Splice.
-
The last piece of Track may be harder to install “in place”, so some, or all (depending upon the width), assembly on the floor may prove to be easier.
-
Door openings that are greater than 8’ (eight feet) high, require additional vertical fiberglass stiffener sections along the top, and are supplied.
-
The Track Rollers need to be installed into the Track before installing the last section of Track.
-
Wall Mounting Hardware is not included.
-
-
-
Move the Curtain(s) into the warmest room temperature available to aid in handling later.
-
To determine any adjustment to the Track length, measure the total length of the Track pieces, and the opening at the Header.
-
If the total Track length is less than the opening width, this can be compensated for by pulling a small gap at each joint and at the ends.
-
If there is more Track than Opening width, remeasure the final gap at the end of the “run”, and cut the last piece at that time.
-
-
-
Measure the Track Splice Mounting Bracket to determine the offset from the desired Curtain Centerline. (1/2 of the width)
-
Snap a chalk line at this distance on the underside of the Header to ensure alignment of the Track Splice Mounting Brackets.
-
Make sure that the Track Splices are aligned to the Reference Line. Track Splices are located at about 4” from each end, and there Must be a Splice located at all Track junctions regardless of Curtain/ Opening Width.
-
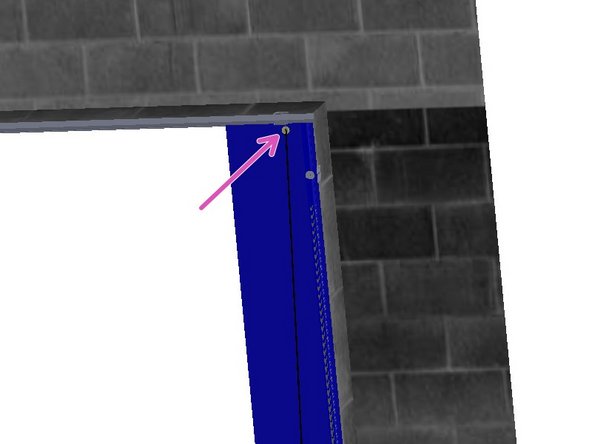
Install the Track Splices to the underside of the Header with fasteners suited for the building material.
-
Loosen and/or remove the nuts from one half of the track splices and Install one Track Section.
-
Make sure that the Track sits squarely in the Splices.
-
Reinstall and tighten the Splice Clamp nuts. Repeat for the length of the run.
-
Install the Roller -Hooks, then install the last section of Track.
-
-
-
Warm the Curtains to 50 degrees before unfolding.
-
Unfold the curtain on a clean flat surface.
-
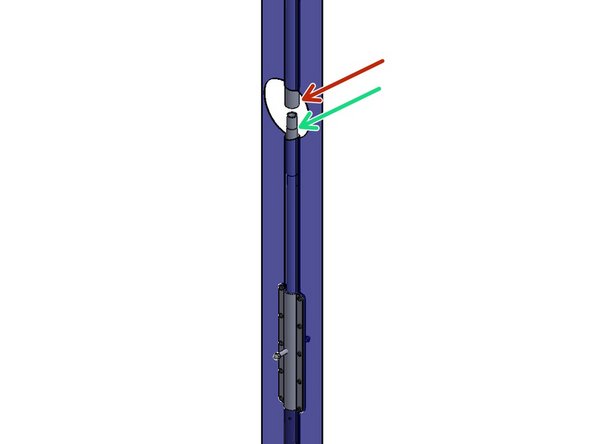
Locate the fiberglass Extension Tube(s) and Locate the opening at the top (Grommeted edge) of the Cam Lock edge/leading edge
-
Insert the Tube into the centermost pocket/ folds (between mesh material for Bug Blocking Curtain) until it
-
engages the splice/coupler below.
-
To fully seat the stiffener extension tube you may have to tap the end.
-
When fully seated, the tube will be about 3” below the top edge of the Curtain for Standard Height Curtains, and about 12" below the top edge of the Curtain for Tall Curtains.
-
-
-
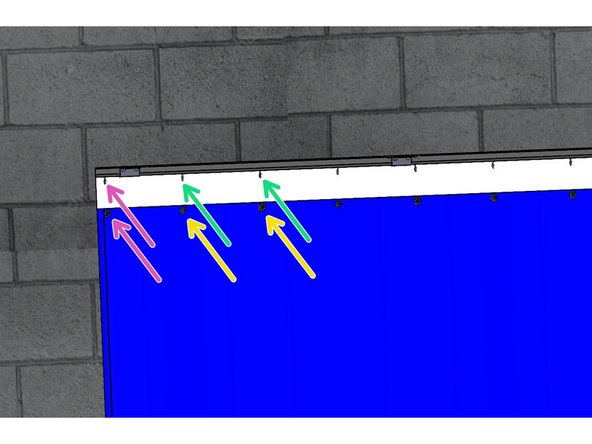
Hang the Curtain Grommets on
-
the Roller Hooks.
-
Crimp the Roller Hooks after each Grommet is hung.
-
For Tall Curtains, leave the last Roller Hook uncrimped for now.
-
-
-
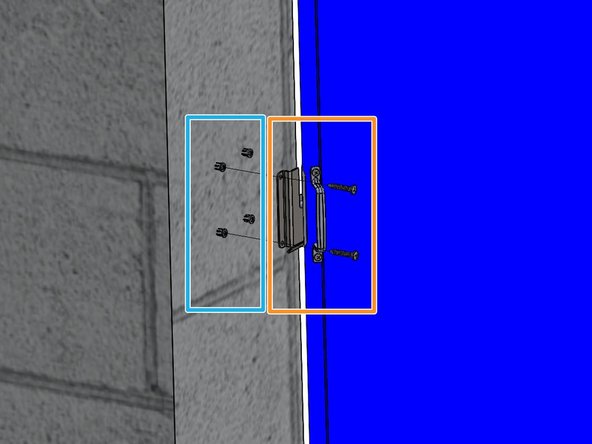
Locate the Screws and Wall Anchors provided with the Curtain.
-
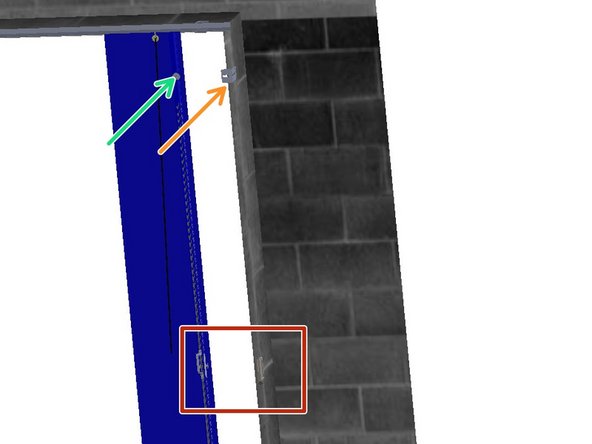
Slip the Slide Mount Bracket fully onto the Slide Mount Stud.
-
Check the Curtain for Plumb.
-
Trace the hole locations onto the door jamb.
-
Secure the Bracket to the Wall.
-
Leave the Slide Mount Stud inserted in the Slide Mount Bracket.
-
-
-
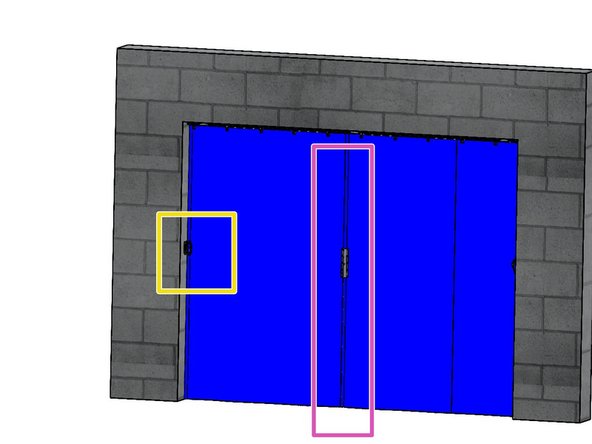
For Curtains wider than about 8’, a Cam Lock is necessary to prevent the curtain from swaying Front to Back. It is important to follow these instructions to ensure a proper fit and function.
-
Latch the Slot Lock device on the far edge of the curtain.
-
At the Cam Lock location (Vertical Pole), grasp the pole and pull the curtain taut to the Slot Lock.
-
Ensure that the Curtain is plumb front to back, then mark the pole location on the floor.
-
Drill a ¾” hole about 1” deep into the floor at this location.
-
Latch the Cam Lock into the floor.
-
Move to the next Cam Lock down the line, and repeat the process.
-
-
-
If there are no Cam Locks, or if there are no more Cam Locks in the Curtain Run:
-
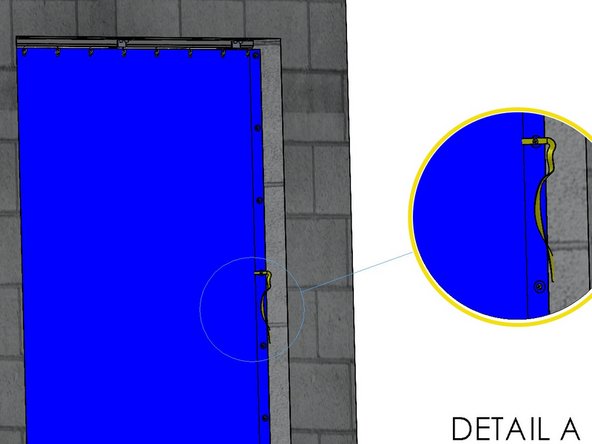
Locate the Screws and Wall Anchors provided with the Curtain.
-
At the far end of the Curtain, thread Tie-Back Strap through a grommet at about waist high.
-
Fold and fasten the free end to the far wall through the Grommets in the Curtain's Edge.
-
-
-
On the Slide Lock side of the Curtain, near the Top (between 3-8" down):
-
With the Curtain Closed and Latched, at the Top of the Curtain, plumb the Curtain Front to Back.
-
Mark a line on the wall along the back edge of the Curtain
-
Offset that line, toward the rear, 1/2", and make a Reference Line.
-
Mount the shorter flange of the "L" Bracket to the wall orienting the edge of the longer flange along the Reference Line.
-
Place the Magnet on the "L" Bracket, then transfer its mounting hole onto the Curtain.
-
Poke a hole through the Curtain at this mark.
-
Sandwich the Curtain between the Magnet and the aluminum Backer Disk. Bolt these items together through the hole with the provided Screw and Locknut.
-
-
-
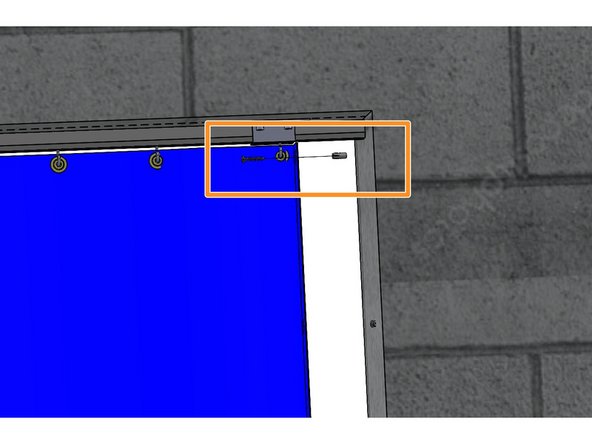
Open the Last Roller's Hook.
-
Slip the Pull Strap Grommet on both sides of the Curtain Grommet.
-
Crimp the Hook shut.
-
-
-
Locate the Screws, Rubber Washers and Wall Anchors provided with the Curtain.
-
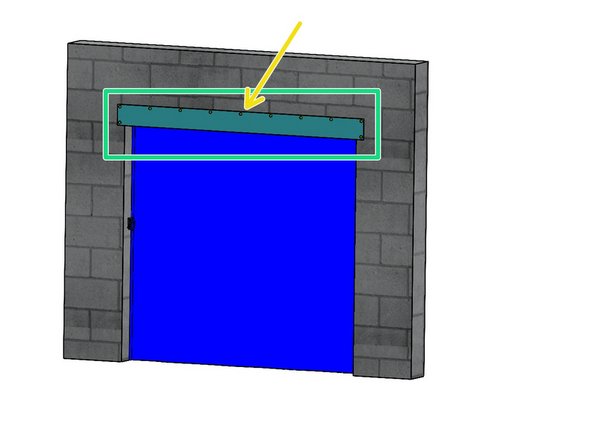
Attach the valance panel to the Building Fascia through the Curtain Grommets using the provided rubber washers and self-tapping screws.
-
Center the Valance on the opening, and locate the Top Edge at about be 2”-4” (two to four inches) above the door opening Header concealing the Curtain Grommets and Roller Hooks.
-
-
-
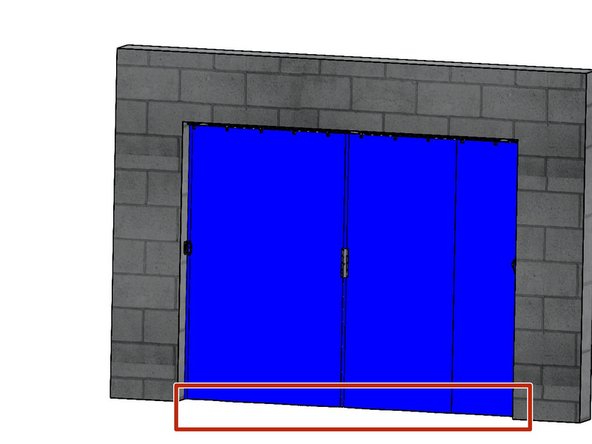
If the Floor is severely tapered, the Curtain should be cut more to the high Side length so that the Sweep doesn't drag on the floor when opening the Curtain.
-
Bend the Floor Sweep onto the floor.
-
Snap a Chalk Line on the material at the desired height.
-
Trim the material with a Scissor.
-

Attached Documents

Team
