-
-
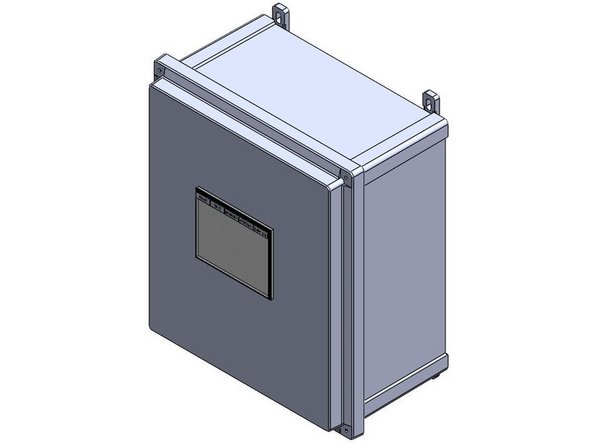
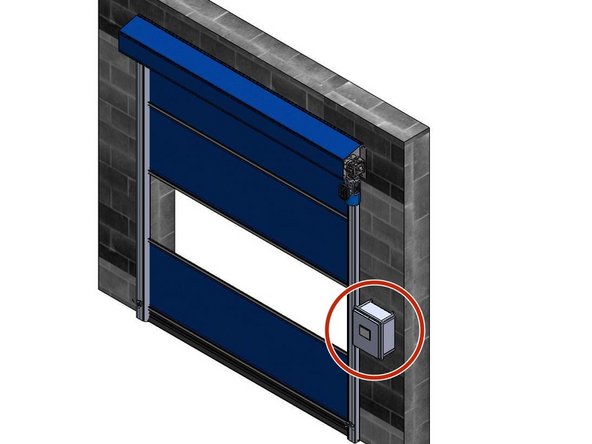
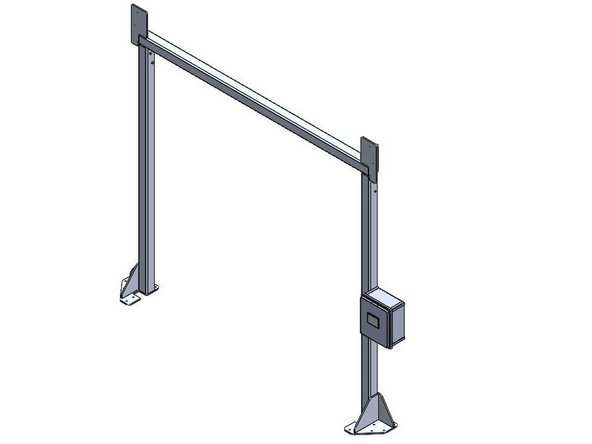
The Goff's ICS3 Control Panel can be Mounted in two different ways:
-
Flush Mounted on a Wall/Surface with the provided Feet.
-
Mounted on a Door Frame with the provided Side-Mount Bracket.
-
Side-Mount Bracket only included when your door is ordered with a Door Frame.
-
-
-
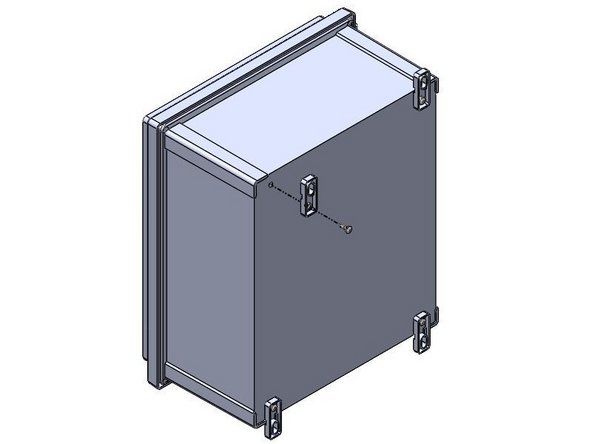
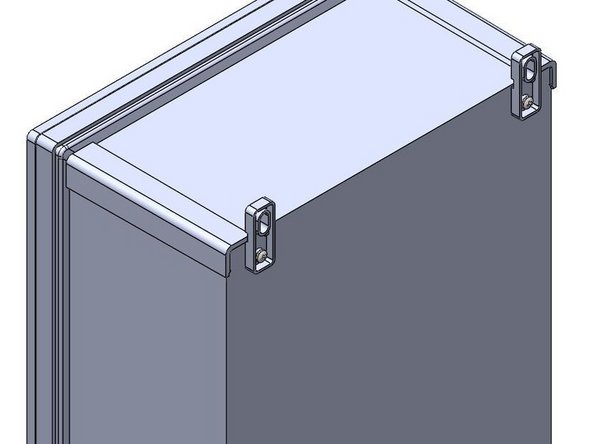
Inside of the Goff's provided Control Panel, there will be a bag containing (4) Feet and (4) 10-32 x 1/2in Screws
-
There are (4) threaded inserts in the back of the Control Panel that will receive the 10-32 x 1/2in Screws.
-
Use these threaded inserts, to Fasten the provided Feet onto the Control Panel.
-
-
-
Goff's does not provide Fasteners for your Mounting Surface. It is up to you to determine the appropriate fasteners for the material you are mounting to.
-
With the appropriate Fasteners, Secure the Control Panel to the wall through the Feet.
-
The Control Panel can be Mounted at any Height or Location within 16ft of the Motor as the provided quick-connect motor cable is 16ft long.
-
If you need a longer cable for any reason, Goff's can provide it, but you will lose the quick-connect capability between the motor and panel. This means the panel will need to be wired into the motor in the field.
-
-
-
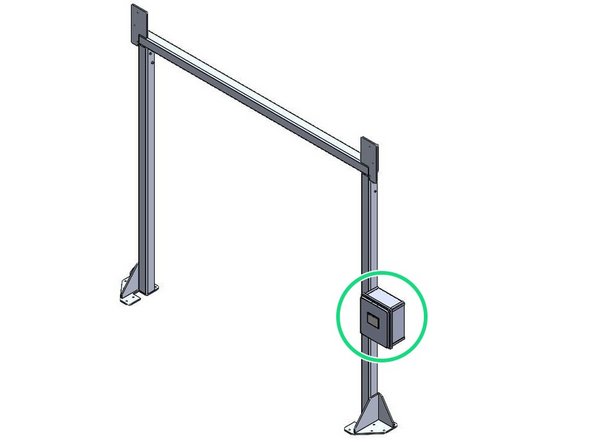
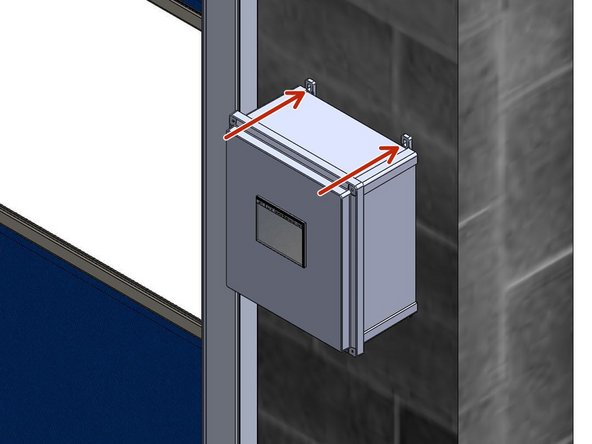
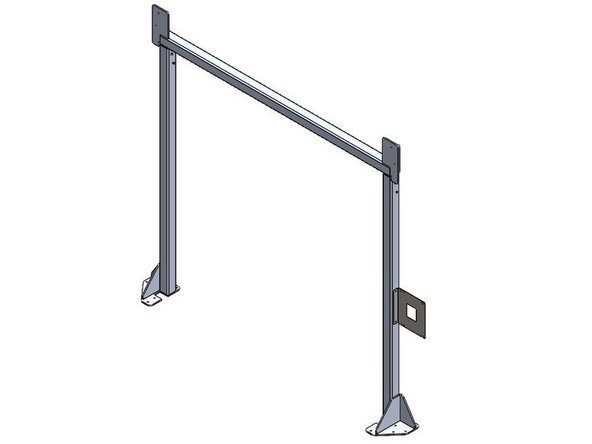
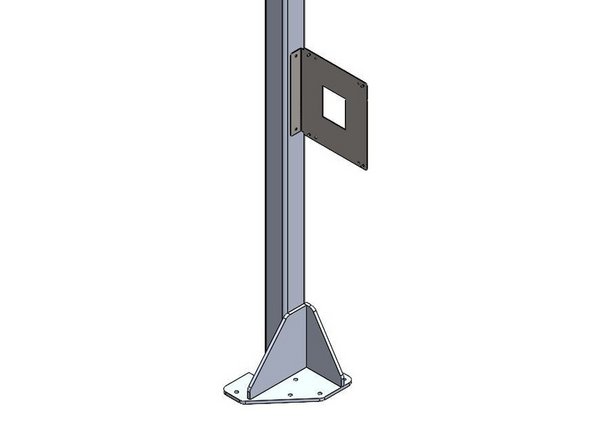
When Side-Mounting a Control Panel onto a Door Frame, the Bracket must be Mounted to the Door Frame Before the Control Panel can be Mounted to the Bracket.
-
Goff's will provide (2) Self-Drilling Fasteners to use for Mounting the Bracket to the Door Frame.
-
The Bracket/Control Panel can be Mounted at any Location on the Door Frame as long as the 16ft quick-connect Cable from the Control Panel can reach the Motor.
-
If you need a longer cable for any reason, Goff's can provide it, but you will lose the quick-connect capability between the motor and panel. This means the panel will need to be wired into the motor in the field.
-
The Bracket can be Flipped to allow Left- or Right-Hand Mounting.
-
-
-
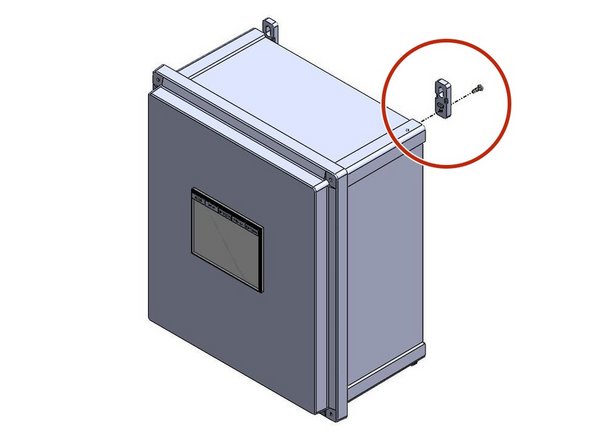
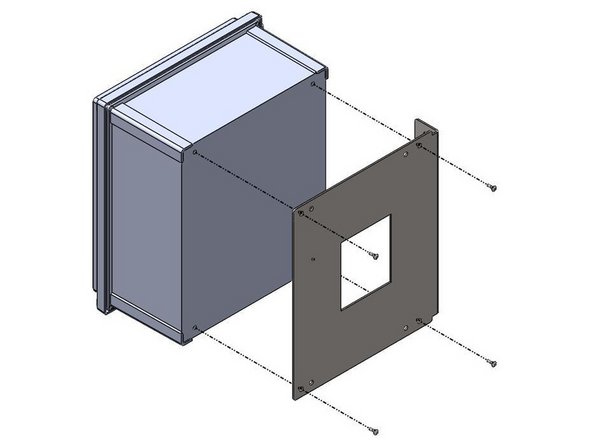
Inside of the Control Panel, there will be a bag containing (4) 10-32 x 1/2in Screws
-
These Screws will be needed to Install Control Panel onto the Side-Mount Bracket.
-
There are (4) threaded inserts in the back of the Control Panel that will receive the 10-32 x 1/2in Screws.
-
Use the Outer-Most Hole Pattern on the Side-Mount Bracket to ensure proper hole alignment with the Control Panel. Use these threaded inserts, to Fasten the Control Panel onto the Side-Mount Bracket.
-

Team
