-
-
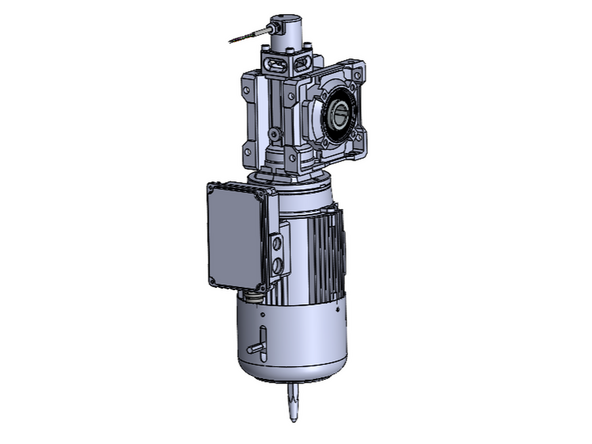
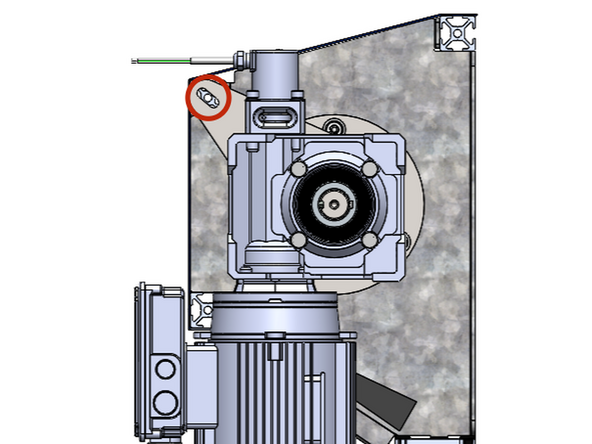
New Door Orders will come with the Encoder Mounted on the Motor from the Factory. Note that your encoder may not look exactly like the one shown.
-
-
-
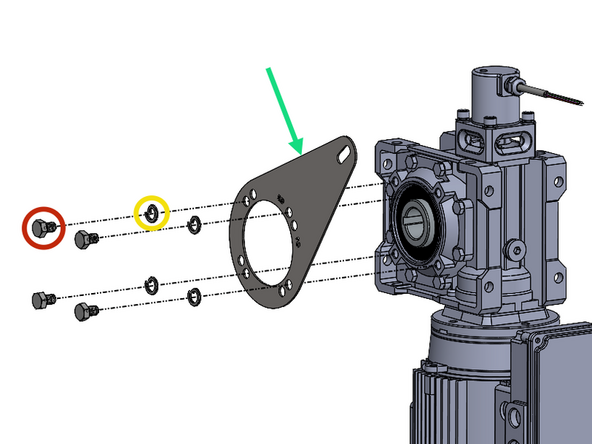
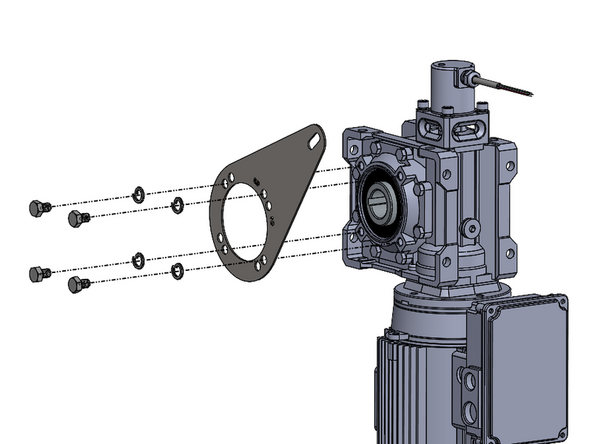
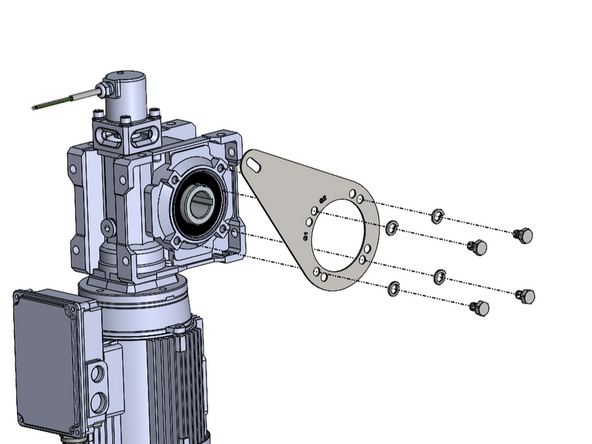
(4) M8 x 1.25mm x 12mm Long Socket Cap Screws
-
Requires 1/2in Socket or Wrench
-
(4) M8 Split-Lock Washers
-
(1) Motor Mount Anti-Torque Bracket
-
-
-
Note the Orientation of the Bracket in Relation to the Motor.
-
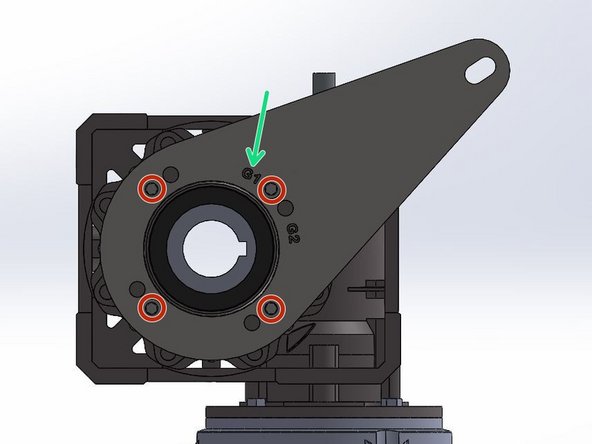
The Bracket has 2 Hole-Patterns Corresponding the G1 and G2 Doors. This ensures the proper Alignment when Installing the Motor Assembly onto a G1 or G2 Door.
-
For a Model 2000 Door, Use the G1 Hole Pattern, and Vice Versa.
-
G1 Doors include Model 2000 and Clean Guard.
-
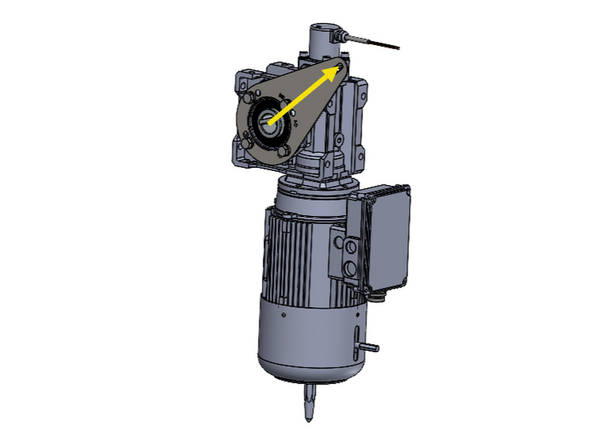
On a RH Drive G1 Door, the Letters will Read Normally/Forward when the Bracket is Mounted onto the Motor.
-
Place the Bracket up on the Motor with the proper Hole Alignment.
-
Place the Lock Washer onto the Screw and Fasten the Bracket onto the Motor.
-
-
-
Note the Orientation of the Bracket in Relation to the Motor.
-
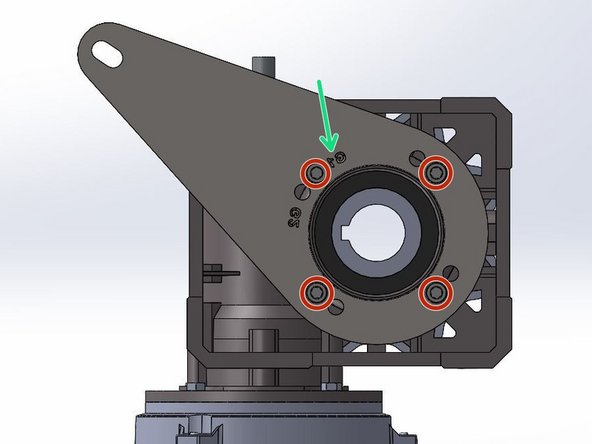
The Bracket has 2 Hole-Patterns Corresponding the G1 and G2 Doors. This ensures the proper Alignment when Installing the Motor Assembly onto a G1 or G2 Door.
-
For a Model 2000, Use the G1 Hole Pattern, and Vice Versa.
-
G1 Doors include Model 2000 and Clean Guard.
-
On a LH Drive G1 Door, the Letters will Read Backwards when the Bracket is Mounted onto the Motor.
-
Place the Bracket up on the Motor with the proper Hole Alignment.
-
Place the Lock Washer onto the Screw and Fasten the Bracket onto the Motor.
-
-
-
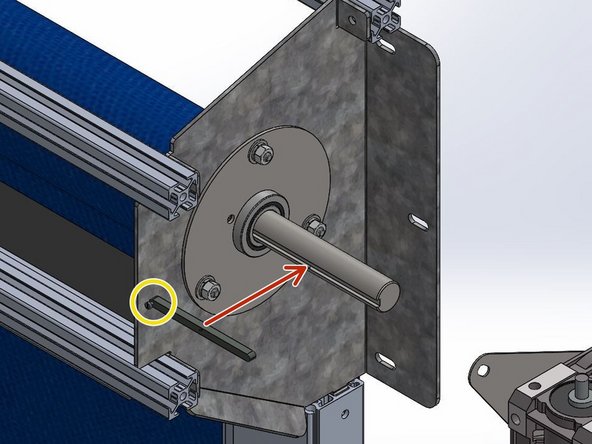
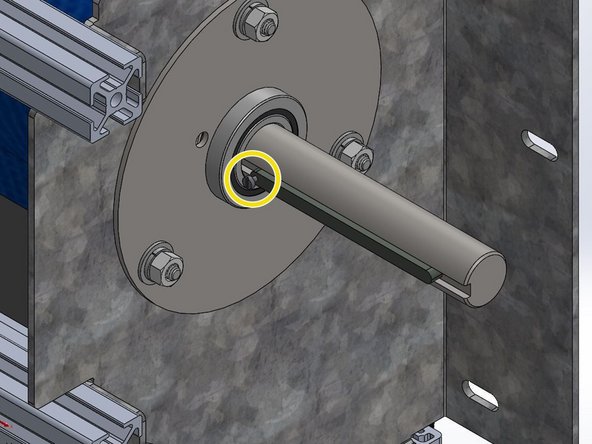
Install the Machine Key onto the Drive Shaft with the Set Screw Oriented Towards the Header (Between Motor and Door).
-
-
-
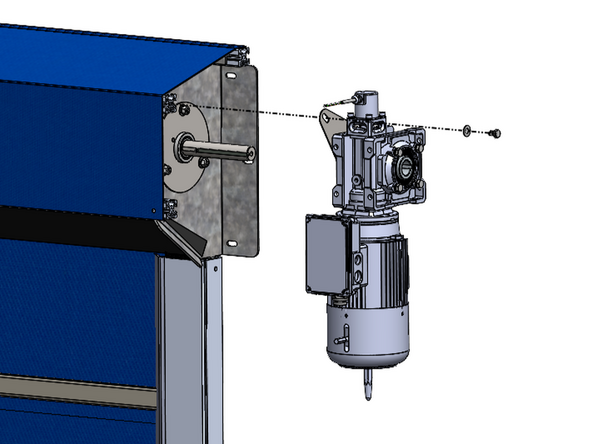
Slide the Motor onto the Shaft and Key.
-
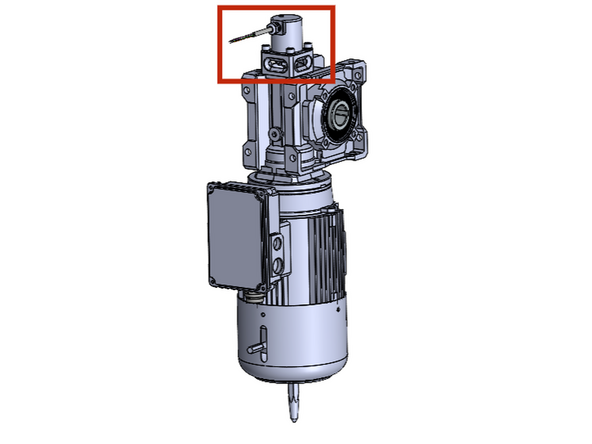
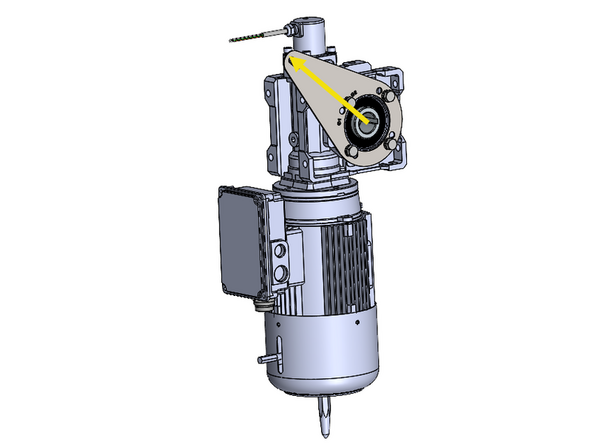
Tilt the Motor to Align the Hole in the Motor Mount Bracket with the Hole on the end of the Upper, Front Rail.
-
This should result in the Motor being oriented Vertically and Plumb (See Image 2).
-
Place the 5/16 Flat Washer onto the 5/16-18 x 1/2in Hex Bolt and Fasten the Motor to the Door with a Ratchet or Impact Driver.
-
Team
