Introduction
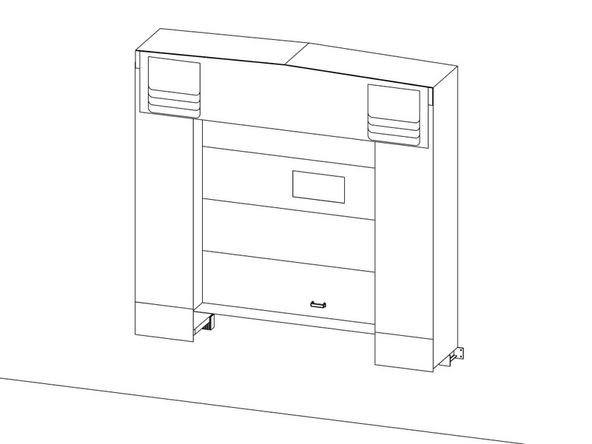
Thank you for purchasing from Goff's Enterprises, Inc. To ensure maximum functionality and longevity of your Flexible Frame Truck Shelter, please carefully review and understand this guide.
Tools
Parts
- Left Side Frame Assembly
- Right Side Frame Assembly
- Beam, Frame, Top
- Left Side Curtain
- Right Side Curtain
- Head Curtain
- Safety Vinyl Panels × 2
- Bumper × 2
- Draft Pad Set
- Bungee Cord × 2
- 3x3 Angle Brackets × 2
- #8 x 2" Wood Screws × 8
- #10 1-1/2" Hex Head Self Drilling Screw × 80
- 18-8 SS 1/4-20 x 2" Bolt × 6
- 18-8 SS 1/4-20 Serrated Nuts × 6
-
-
Technical Support Contacts:
-
Phone: 262-746-3374
-
Email: techsupport@goffscw.com
-
Website: http://www.goffsenterprises.com
-
-
-
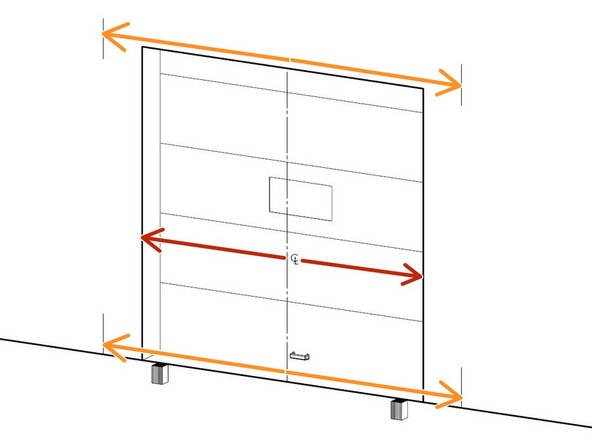
Measure Top Beam width from outside edge to edge and take note.
-
The standard width is 11'-6" (138")
-
-
-
Measure the door width. Divide your measurement by 2 to determine centerline of the door opening.
-
Take the Top Beam width from the previous step and divide by 2 to determine Top Beam offset from the door opening centerline.
-
This would be 5'-9" (69") for a standard width unit
-
Using the Side Frame offset dimension, mark lines from the centerline of the door opening to each side of the door opening.
-
Make a mark towards the top and bottom of each side of the door opening to help ensure the Side Frames are plumb.
-
These marks will be used in a later step to align the outside edges of the Side Frames.
-
-
-
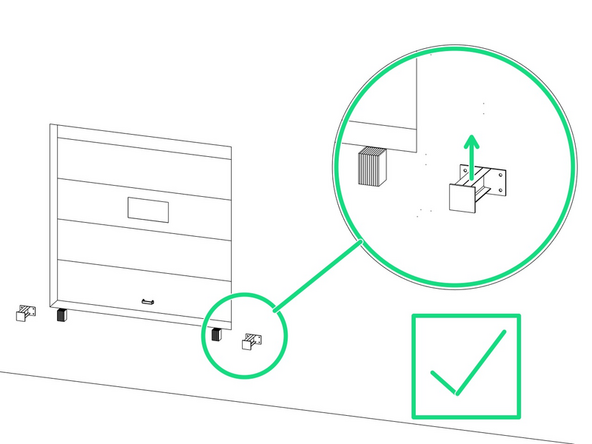
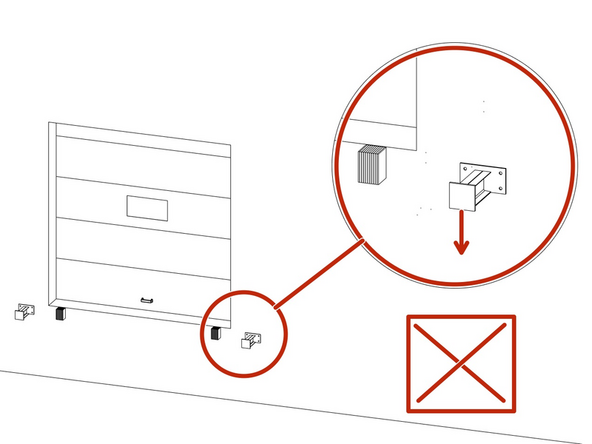
Line up the outside edges of the Side Frame Bumper mounting plates 2-3/4" beyond the marks made in the previous step (further from the door opening).
-
The Bumper must be offset 2-3/4" from the reference lines. This will center the Side Frames on the upper C-Channel of the frame supports with the outside faces of the Side Frames aligned with the reference marks.
-
Use a marker to mark mounting hole locations.
-
Set the frame aside and predirll concrete anchor holes per installer supplied anchors.
-
Realign Side Frame Supports and anchor to wall surface wing concrete anchors or by using other best practices.
-
-
-
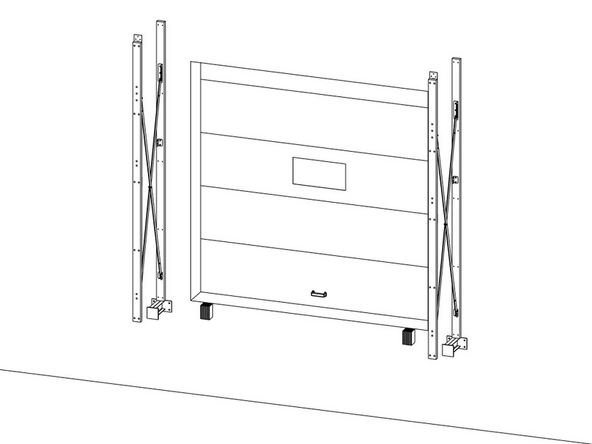
Fasten the Side Frames to the building using the markings from Step 3 using installer supplied hardware.
-
Be sure to note there is a Left Side Frame and a Right Side Frame. The boards reinforced with the metal plates should be the front boards, and the boards without the reinforced metal plates should mount to the walls. The vinyl should be on the outside of the Side Frames.
-
It is recommended to use at least (3) anchor points at a minimum but use best practices based on the wall surface.
-
Pre-drill mounting holes in the wood. Failing to pre-drill could damage your dock shelter.
-
Diagram shown without Vinyl Side Curtains.
-
-
-
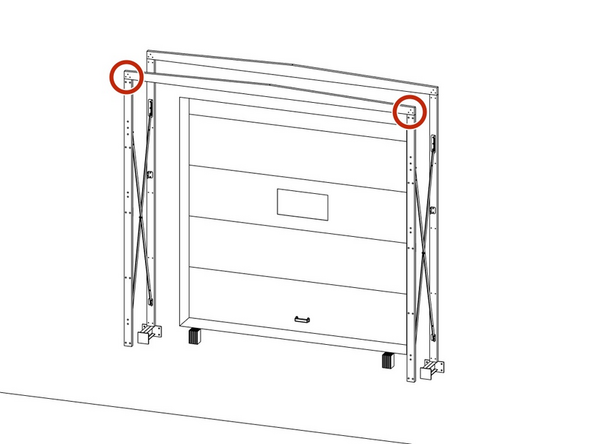
Place top beam pre-assembly on top of the left and right uprights.
-
Fasten the Back beam directly to the wall surface using installer supplied hardware.
-
It is recommended to use at least (3) anchor points at a minimum to fasten the rear Horizontal Beam, but use best practices based on the wall surface.
-
Fasten the Front beam to the metal backing plate on the uprights using the provided 1/4-20 x 2" Bolts and 1/4-20 Serrated Nuts.
-
Vinyl Side Curtains and Head Curtain not shown.
-
-
-
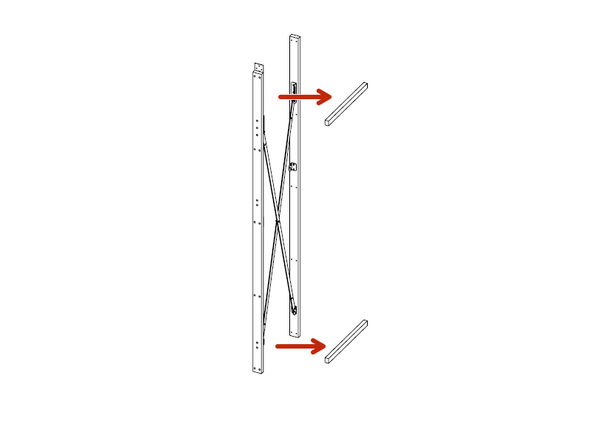
Remove the wood spacers from the Uprights and Top beams.
-
-
-
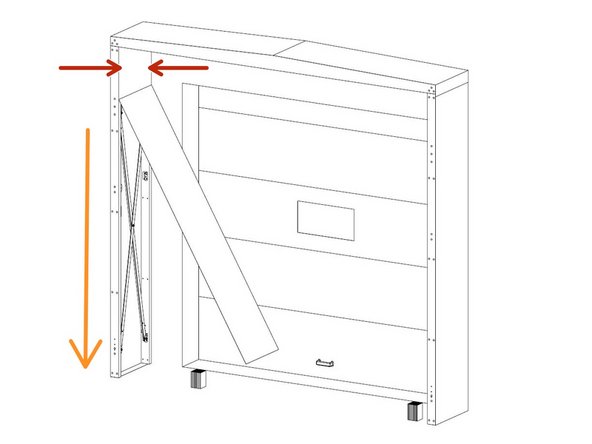
Using the provided #10 x 1-1/2" Self-Drilling Screws, fasten the upper corners of the Safety Panel to the top inside edges of the Side Frame.
-
Continue down the Side Frame fastening another screw every 12" going through the Safety Panel to the inside of the Side Frame Verticals until panel is secured.
-
Do this for both sides.
-
-
-
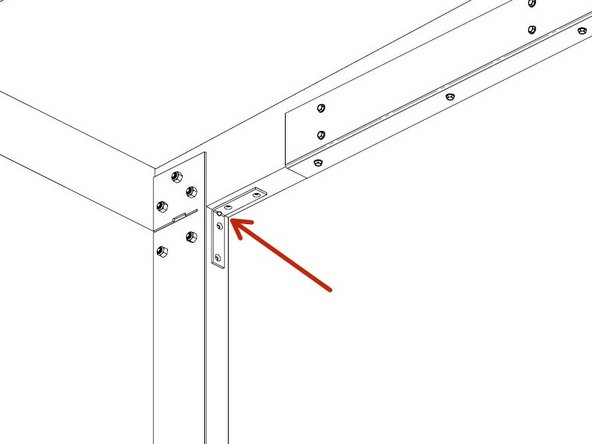
Fasten the provided 3x3 Angle Brackets in the two upper front corners under the Top Frame and against the Side Frames using the #8x2" Wood Screws, to assist in keeping the Side Frames square with the Top Frame.
-
Safety Vinyl Panel hidden in this view.
-
-
-
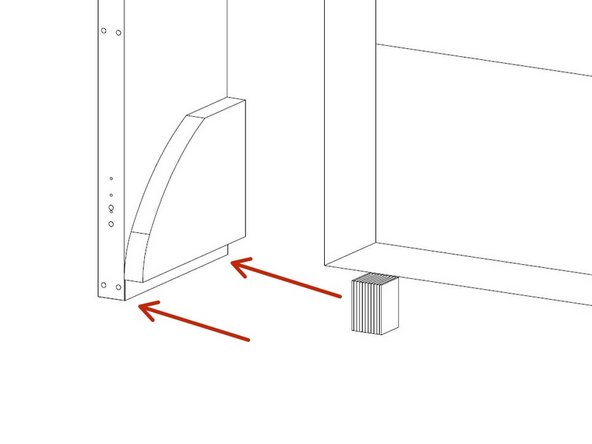
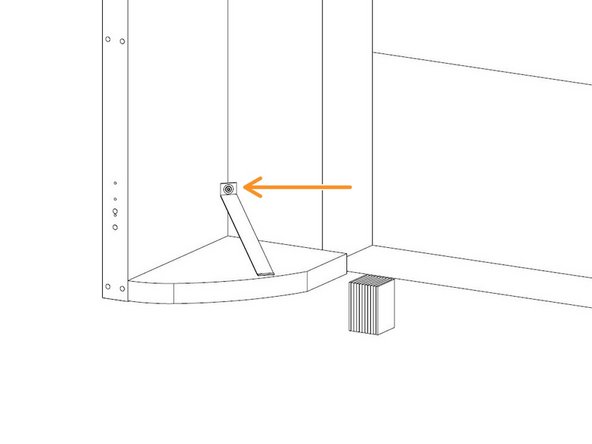
Align the Draft Pad so that the top face of the Draft Pad is pressed against the inside face of the Side Panel and the tab is hanging down flush with the bottom of the side panel.
-
Fasten the Draft Pad by screwing into the underside of the Draft Pad tab and into the vertical members of the Side Frame using the provided #10x1-1/2" Self-Tapping Screws.
-
Try and drill higher up on the tab and closer to the foam portion to reduce sagging on the Draft Pad.
-
Once secure, let the Draft Pad fall down to it's normal position so it is resting on the dock bumper, and screw the elastic strap into the rear vertical member keeping the elastic strap taut using another #10x1-1/2" Self-Tapping Screw.
-
-
-
Using installer supplied tacks or nails, temporarily pin the Left and Right Side Curtains to the Side Frames by fastening through the curtain into the edge of the Side Frames.
-
These curtains will be fully fastened in a later step. These just need to be pinned well enough to hold them in place at this time.
-
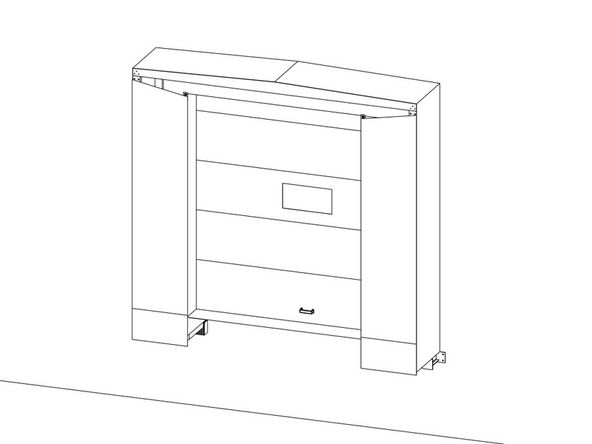
Be sure the curtains are properly oriented, with the Wear Pleats on the bottom and the Side Curtains tapering down toward the center as shown.
-
-
-
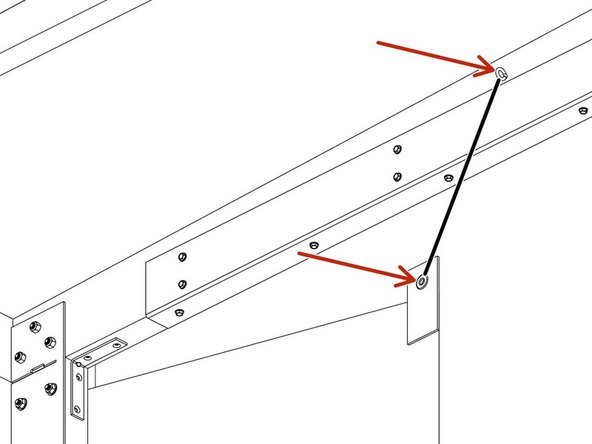
Using provided Bungees, hook Bungee Cord end loop through the eye bolt, and hook the other through the grommet on the Side Curtain. Repeat for the other side.
-
Image is looking up from the inside of the unit towards the Head Board.
-
Use a pliers to crimp the bungee hooks closed so they do not fall off.
-
-
-
Using installer provided tacks or nails, temporarily pin the Head Curtain to the Top Beam through the curtain into the front face of the Top Beam.
-
This will be fully fastened in a later step. This just needs to be pinned well enough to be held in place at this time.
-
-
-
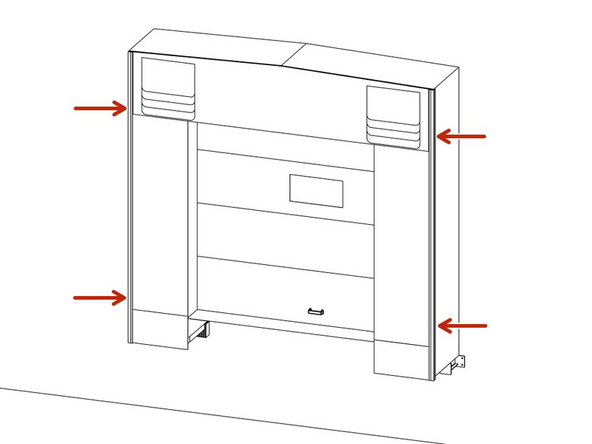
Fasten the Side Angle Trim to the front left and front right corners of the Dock Shelter using the provided #10 x 1-1/2" Self Drilling Screws.
-
Drill screws along the score line on the Angle Trim adding a fastener 1" from the top and bottom, as well as one into each fiber stiffener (appx. every 14 inches).
-
Drilling a 1/8" pilot hole may help if you are struggling to drill through the material.
-
-
-
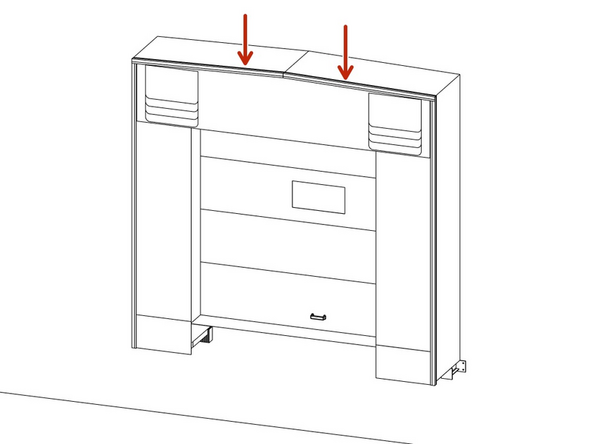
Install Top Angle trim pieces. Use The same method as the previous step.
-
-
-
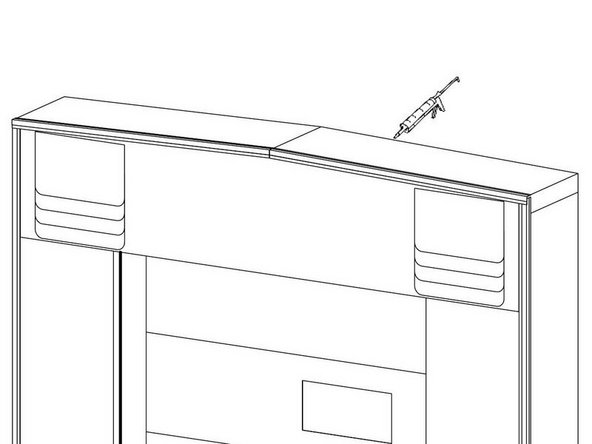
Add a generous bead of caulk along the top edges of the Dock Shelter that are in contact with the mounting surface.
-


