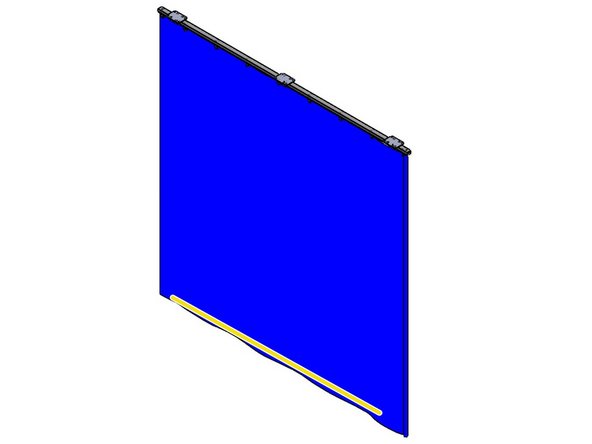
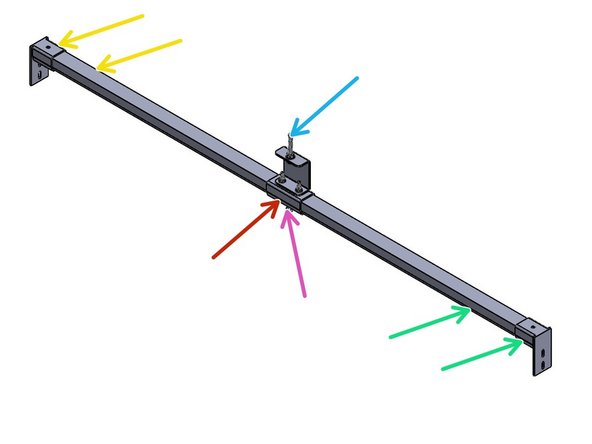
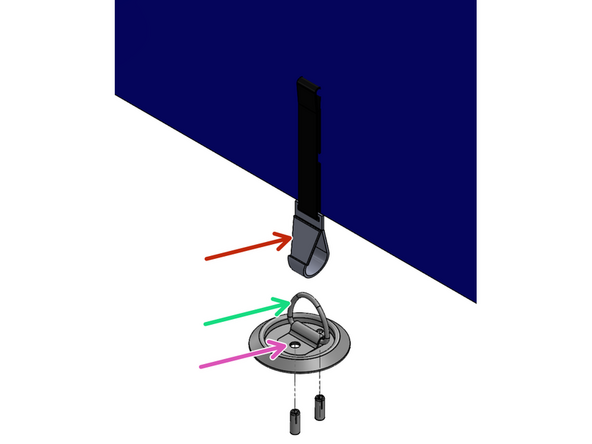
-
-
Technical Support Contacts:
-
Phone: 262-746-3374
-
Email: techsupport@goffscw.com
-
Website: http://www.goffsenterprises.com
-
-
-
Allow curtains to reach room temperature before unfolding them.
-
Finished Height is equal to Opening Height less 3” to allow for Track, Rollers and a 1” gap at floor.
-
The height listed on the tag which is attached to the lower corner of the Curtain will reflect the Finished Height ordered.
-
Confirm that the dimension from the top of the track to the floor is the same as the opening height of the Curtain ordered (i.e. 8’, 10’, or 12’ high etc.).
-
-
-
Curtain Track Hardware does not come with all Curtains, but it can be ordered with your Curtain. Curtain Track Kits come with all hardware and fasteners to assemble the track layout, but doesn't come with hardware to fasten to the building structures such as end mount fasteners, threaded rod, Unistrut, etc. Installer to supply mounting hardware.
-
If you ordered Track Hardware with your Curtain, this guide will show all of the different variations of track layout assemblies. Not all steps will apply to your specific layout depending on what was ordered.
-
Track systems are more easily assembled on the floor, and then raised in smaller sections for installation.
-
All Bracket Types can be used for Securing Tracks Joints.
-
To easily insert a Track Section into a Connector, lightly clamp a pair of Vice Grip Pliers onto the Track about 4” from the end. This narrows the track and allows easy insertion.
-
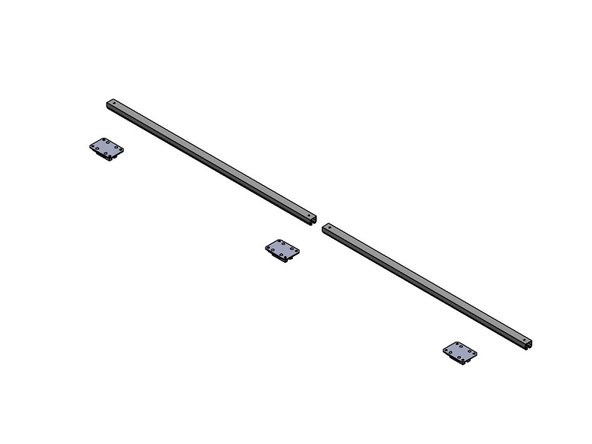
Lay the Track and Connectors in sequential order on the floor below the Installation Location.
-
-
-
For Specific Connection instructions, see Steps following this Step.
-
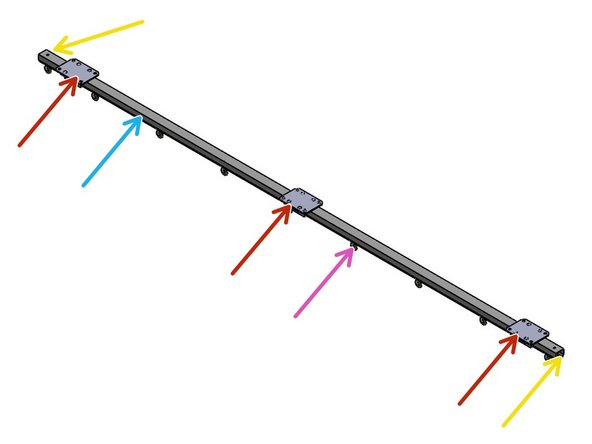
At one End of the Run, install an End Stop to the First section of Track.
-
At each Track Joint, and 6" from each End, Install either a Track Splice or Universal Track Connector.
-
Continue adding Track Sections and Connectors.
-
Measure and Cut the last Track Section if necessary. Drill a 5/16" Hole 1" from the Cut Track end.
-
Install an End Stop into the last Track Section.
-
Insert the Roller Hooks into the Installed Track Run. Ensure that the hooks are hanging out through the bottom of the track.
-
Install the Last Section of Track.
-
-
-
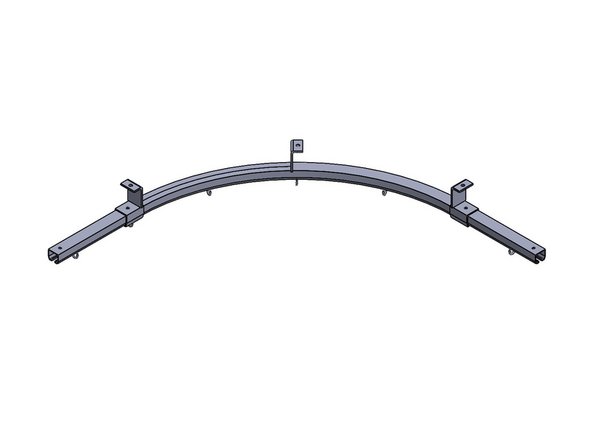
90 Degree Curved Track Sections require 24" in each direction. Straight Track Runs will be shortened by 24" to compensate for a 90 Degree Curved Track Section.
-
Follow Instructions for the Straight Track Sections
-
Measure and Cut (if necessary) the Last Section of Straight Track with a Chop or Hack Saw. Drill a 5/16" Hole 1" from the Cut Track end.
-
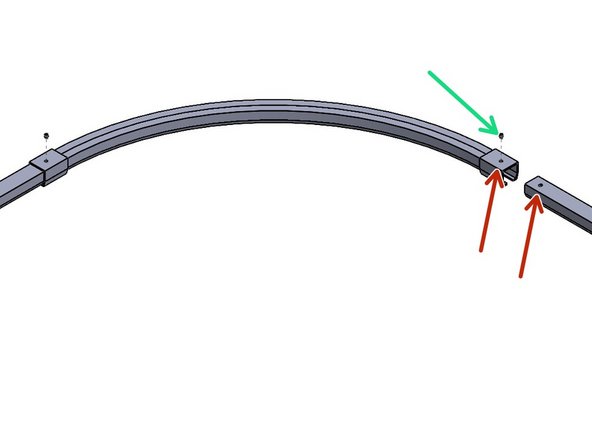
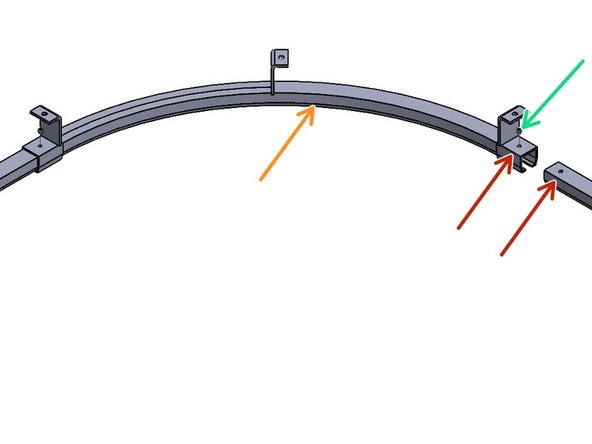
Insert the end of the track into the end of the curve (which includes a built-in connector).
-
Tighten the Set Screw (from the Top) to secure the Curve to the Track.
-
Level and Mount the Curve Track.
-
Insert the Next Section of Straight Track into the other end of the Curved Track, and tighten the Set Screw.
-
Continue to follow the Straight Track Instructions (above).
-
-
-
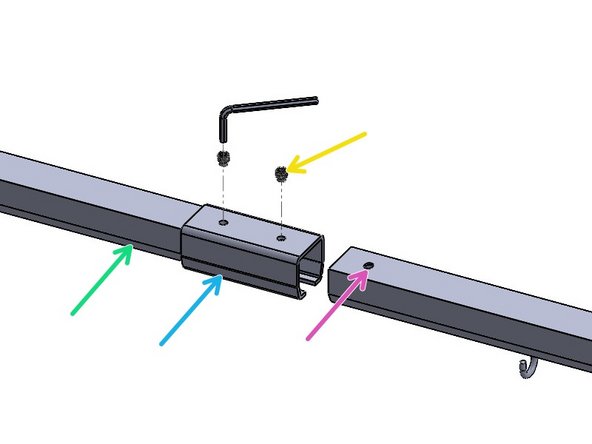
Locate a Track Splice
-
Insert a Track section into the Connector until the holes align.
-
Insert another Track section into the other end of the Connector until the holes align.
-
Secure each Track to the Splice from the Top with a 3/8" Set Screw (included with Wrench).
-
-
-
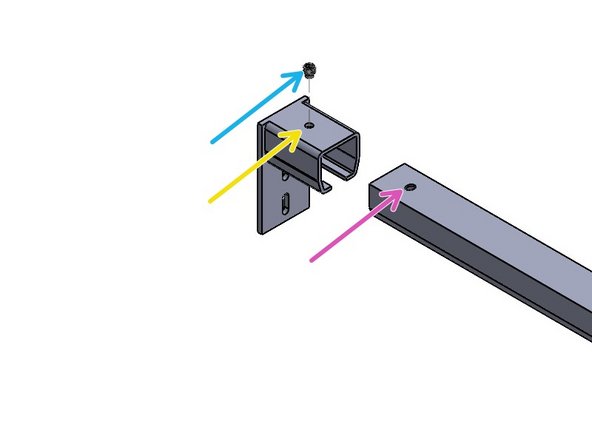
Locate the End Mount Connector.
-
Align the Hole in the Connector with the Hole in the top of the Track.
-
Secure the two parts from the Top with a 3/8" Set Screw (included with Wrench).
-
Set the Track Height, Level, then Secure the End Mount to the Mounting Surface.
-
-
-
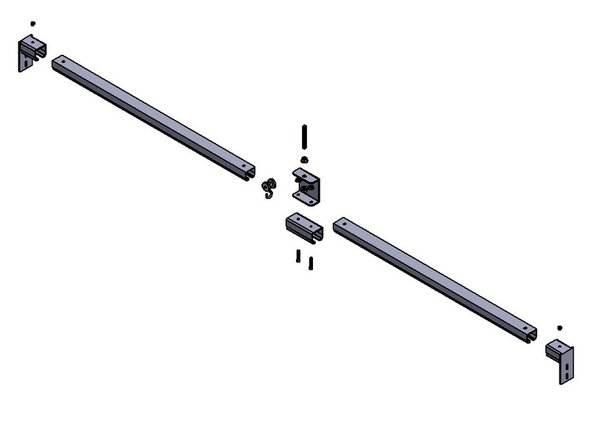
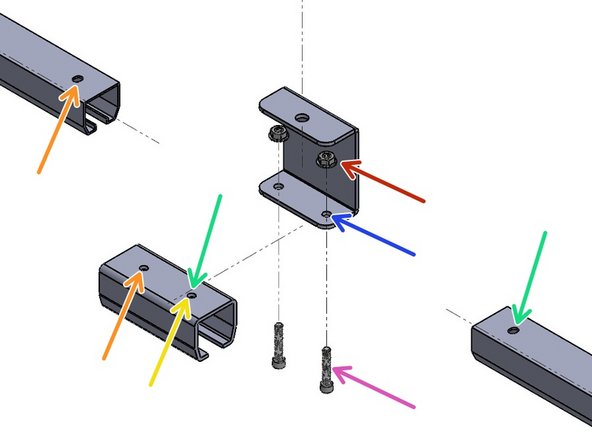
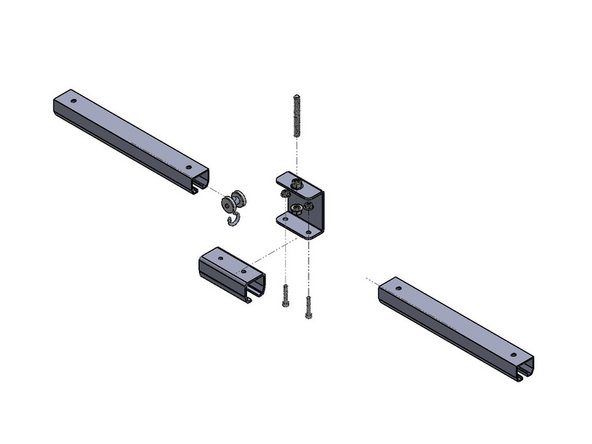
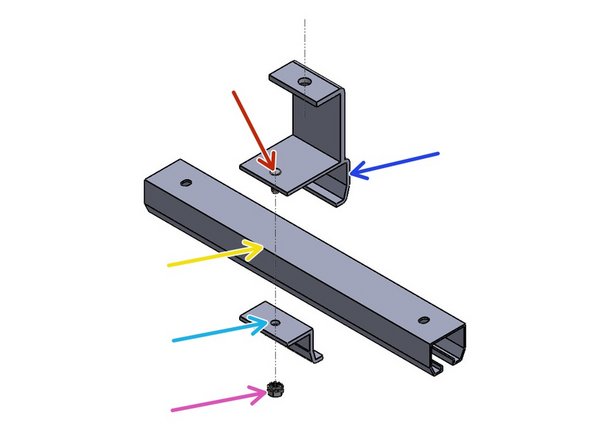
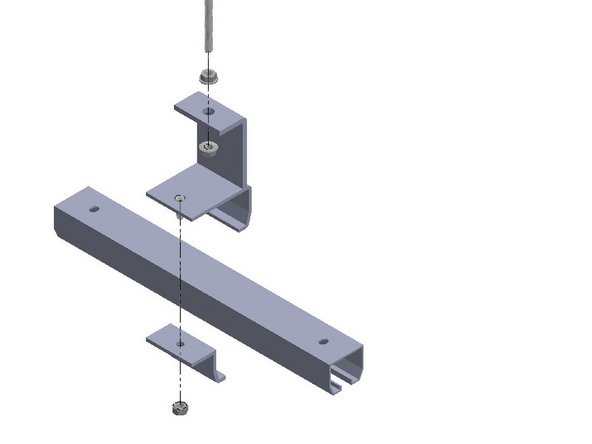
Locate the Universal Track Connector components.
-
Insert a Track section into the Connector until the holes align.
-
Insert another Track section into the other end of the Connector until the holes align.
-
Install two Socket Head Screws from inside the Track,
-
through the Track Connector
-
through the Hanger Bracket
-
then Thread a Flanged Nut onto each Screw.
-
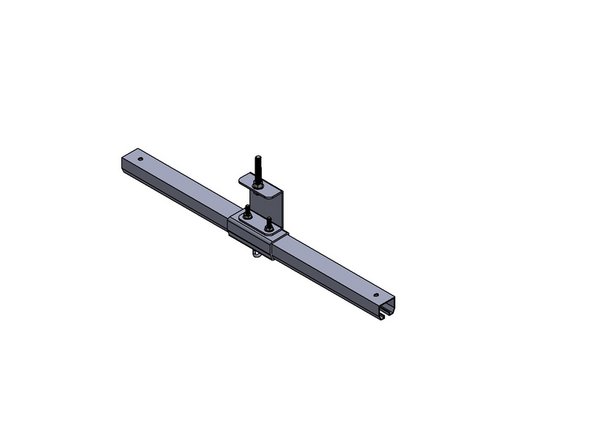
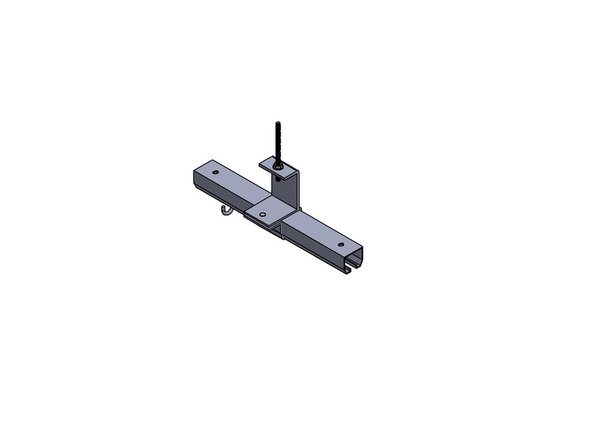
Go to the Step "Threaded Rod Support Installation" to complete this Installation Process.
-
-
-
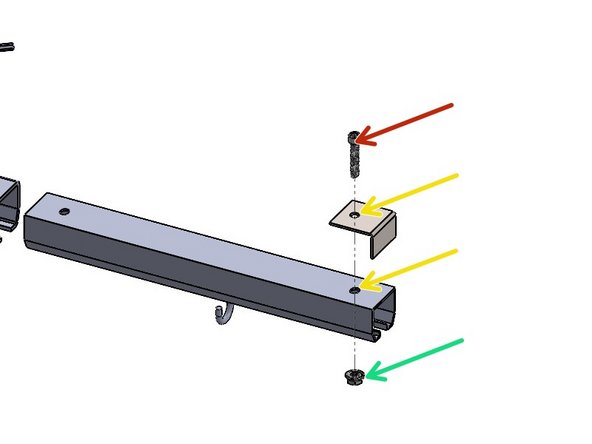
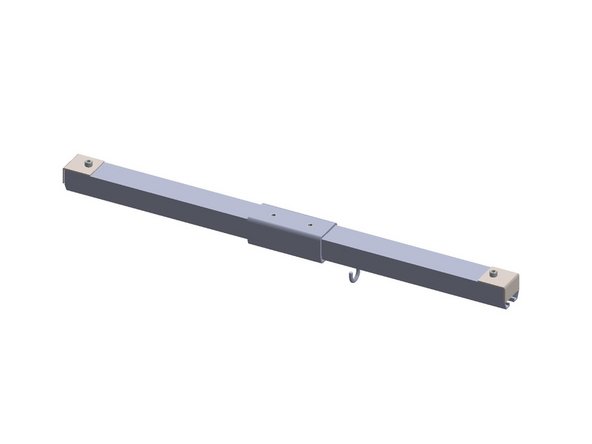
To install the End Stop onto the First or Last Section of Track:
-
Align the hole in the End Stop with the hole in the Top of the Track.
-
If the last Track Section was cut off, Drill a 5/16" Hole 1" from the Cut Track end.
-
Push the Socket Head Screw through from the Top.
-
Thread a Flanged Nut up from Inside of the Track.
-
-
-
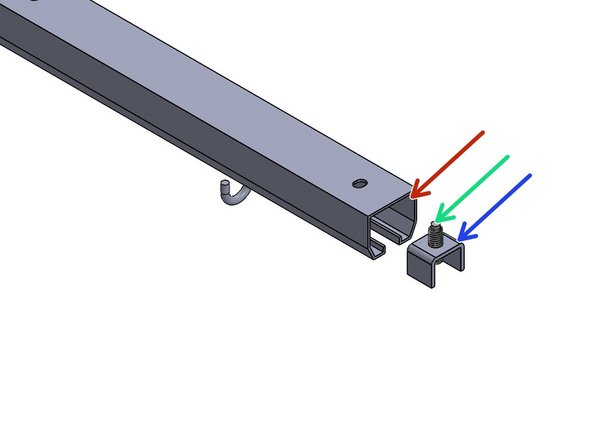
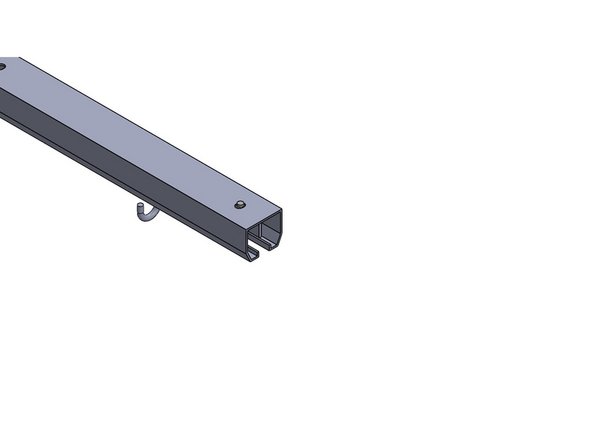
To install the Stop Bracket onto the First or Last Section of Track:
-
Locate the Stop Bracket.
-
Slide Stop Bracket into the Track End.
-
Tighten the Set Screw until it is secure against the inside of the Track. (Wrench is included)
-
-
-
Loosen the Nut on the Track Bracket.
-
Slide the Loose Bracket piece off of the Stud.
-
Fit the Track into the Fixed Bracket part.
-
Slip the Loose Bracket part back onto the Stud.
-
Secure the Assembly by reinstalling the Nut.
-
-
-
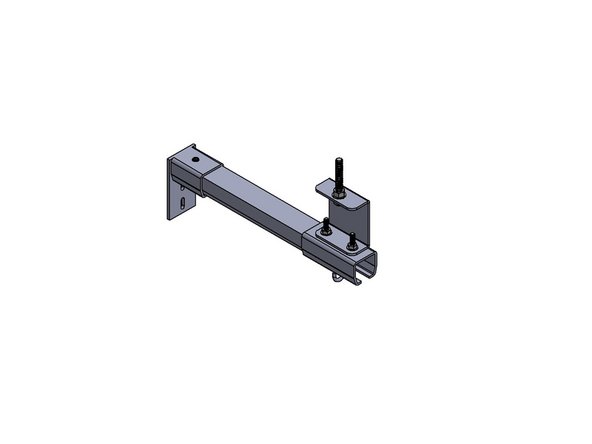
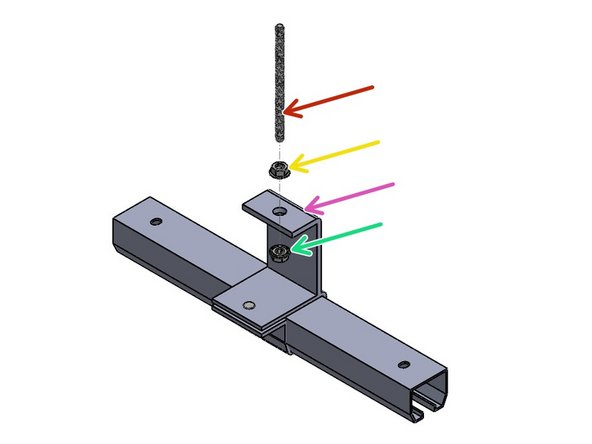
Threaded Rod and Nuts are Not Included.
-
Install a Threaded Rod to the Structure from above.
-
Thread a Nut onto the Threaded Rod.
-
Slide the Track Support Bracket onto the Threaded Rod.
-
Thread a Nut onto the Threaded Rod to support the Bracket.
-
Level the Track.
-
Tightly secure the Nuts to hold the Assembly in place.
-
-
-
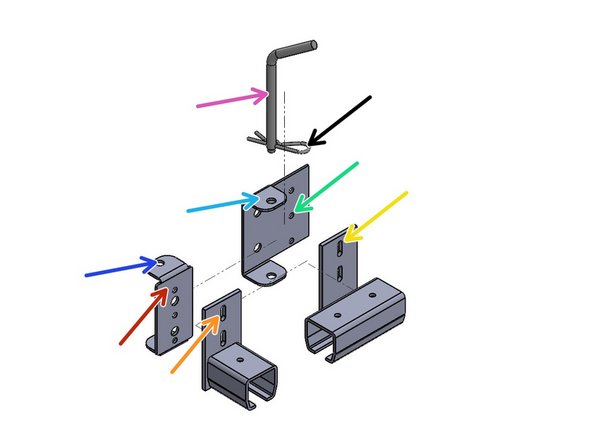
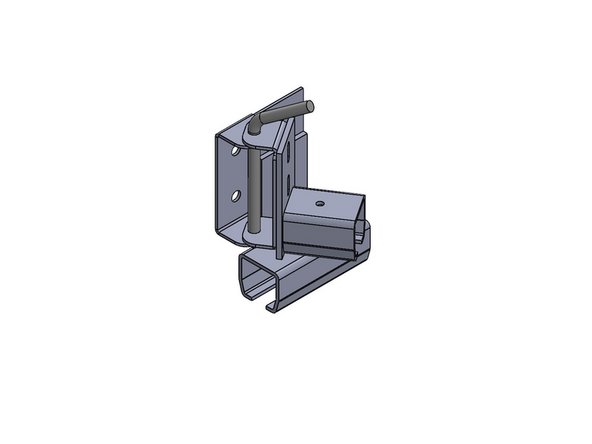
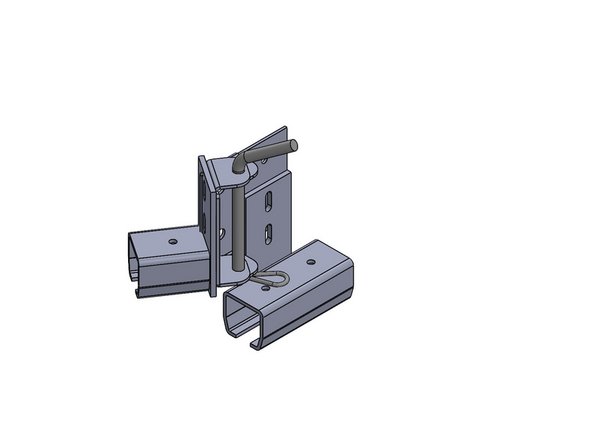
Bolt the Track Connector to the
-
Fixed Pivot Bracket through the lower two holes. - Mount the Fixed Pivot Bracket to the Mounting Surface
-
Blot the End Mount to the
-
Swing Pivot Bracket's Upper two Holes.
-
Install the Pull Pin through
-
the Swing Pivot Bracket's Top Hole
-
through the fixed Bracket's Top Hole, and through Both Lower Holes.
-
Replace the Spring Clip to the Pull Pin.
-
-
-
Allow curtains to reach room temperature (50 Deg. F) before unfolding them.
-
To ensure that the Velcro Curtain sections join correctly, Hang each Curtain Section with the Logo Facing toward the Front.
-
Clean the Floor area around the Curtain Run, and try not to drag the Curtain along the floor during installation.
-
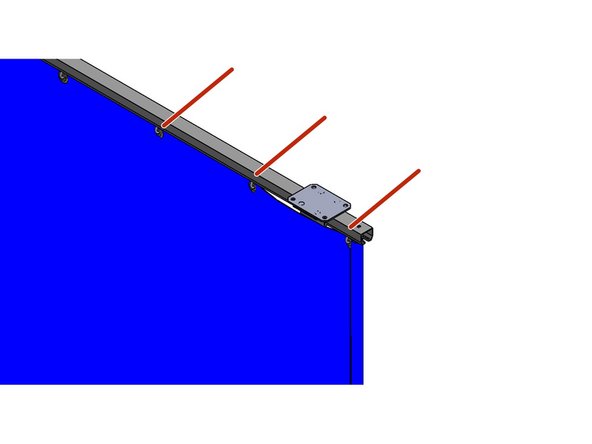
Hook Grommets onto Roller Hooks.
-
Crimp each Roller Hook shut after Hooking the Curtain on it. A pair of Pliers works well for this.
-
-
-
Velcro is sewn to the Curtain and to the Sweep.
-
Start at one End of the Curtain Run
-
Press the two Velcro halves together.
-
Continue down the Curtain Run.
-
To Trim the Sweep:
-
Snap a chalk line along the length of the Sweep.
-
Trim to the Line with a scissor or Utility Knife.
-
-
-
For Specific Connection instructions, see Steps following this Step.
-
At one End of the Run, install an End Mount Bracket to the First section of Track.
-
Install a Universal Track Connector to the other end of the Track.
-
Install a Threaded Rod with Nuts. Then Level the Track, and Install the End Mount Bracket to the Mounting Surface.
-
Continue adding Track Sections and Universal Track Connectors at each Track Joint.
-
Install an End Mount Bracket onto the last Track Section.
-
Insert the Roller Hooks into the Installed Track Run. Ensure that the hooks are hanging out through the bottom of the track.
-
Level and Install the Last Section of Track.
-
-
-
Slide the Curtain into place along the track.
-
Position the D-Ring so that it lines up with the
-
Wind Tie on the Curtain.
-
Transfer the hole location to the floor.
-
Install Anchors and Hardware (not provided) to secure the D-Ring.
-
Flip up D-ring and connect webbing Strap Clip.
-
Almost done!
Finish Line


